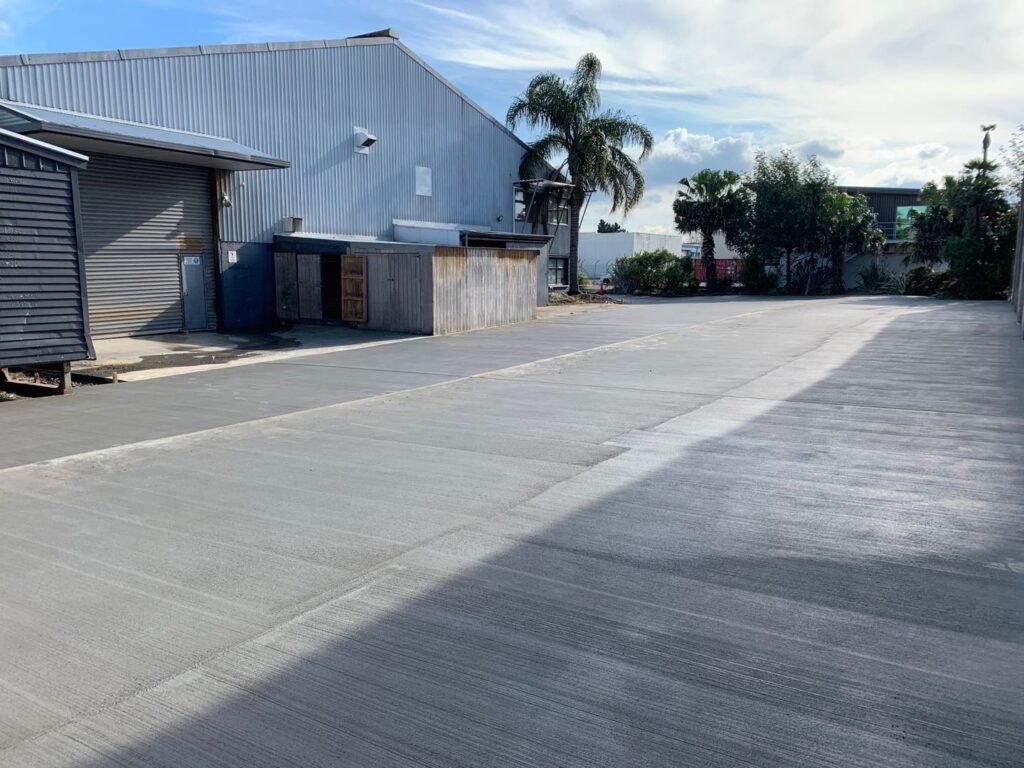
A Driveway Vehicle Crossing, also known simply as a driveway, is the link between public roads and private properties such as homes or businesses. Choosing the right material for constructing this crossing is crucial, not only for aesthetics but also for durability and load-bearing capacity. Concrete has become a popular choice due to its strength, low maintenance, and long lifespan, making it ideal for driveway vehicle crossings.
Why Choose Concrete for Driveway Vehicle Crossings?
- Long-lasting Durability
Concrete is highly resistant to pressure and wear, making it capable of withstanding the repeated stress of heavy vehicles over time. Compared to other materials like asphalt or pavers, concrete offers a much longer service life, often lasting several decades. - Low Maintenance Costs
Concrete surfaces are tough and resistant to weathering, cracking, and settling. With just occasional cleaning and sealing, concrete driveways can maintain their condition for many years, saving you time and money on maintenance. - Versatile Design Options
Modern concrete can be crafted into a variety of aesthetic designs. With techniques such as coloring, stamping, and polishing, concrete can mimic the appearance of stone, brick, or other materials, giving property owners a wide range of decorative options. - Environmentally Friendly
Concrete is an eco-friendly choice, especially when produced using low-carbon technologies. It is recyclable, energy-efficient, and aligns with sustainable building practices, making it a responsible option for environmentally conscious homeowners and businesses.
Steps for Constructing a Concrete Driveway Vehicle Crossing
1. Planning and Design
The first step is planning the dimensions and load capacity of the driveway to ensure it can handle the weight of everyday vehicle traffic. Typically, the thickness of a driveway should range from 100mm to 150mm, depending on the expected load.
2. Preparing the Base
A well-prepared base is crucial for a durable concrete driveway. A layer of crushed stone or gravel should be laid to ensure proper drainage and stability before the concrete is poured.
3. Pouring the Concrete
Once the base is ready, concrete is poured evenly across the designated area. It’s important to maintain consistent thickness and smoothness during the pouring process to ensure a uniform surface.
4. Leveling and Finishing
After the concrete is poured, it must be leveled and smoothed using special tools. This step enhances the overall appearance and improves the slip resistance and durability of the surface.
5. Curing and Sealing
Concrete requires time to cure, typically about 7 days, before it can support the weight of vehicles. During this curing period, it’s important to protect the concrete from excess moisture and traffic. Afterward, applying a sealer can protect the surface from water damage and staining.
Important Considerations During Construction
- Drainage System: A proper drainage system must be integrated into the design to prevent water pooling, which can weaken the concrete or cause cracks over time.
- Environmental Impact: Care should be taken to minimize the impact on surrounding areas during construction, especially avoiding disruptions to nearby roads and sidewalks.
- Permit Requirements: In New Zealand, constructing a new driveway vehicle crossing often requires permits from local councils. Be sure to comply with all local regulations to ensure the project meets planning and safety standards.
Conclusion
Using concrete for driveway vehicle crossings offers long-term durability and an aesthetically pleasing look, making it an ideal material for both new constructions and renovations. Concrete is an economical, reliable choice that adds value to any property. If you’re considering building or upgrading a driveway, TT Concrete NZ is here to help. With an experienced team and top-quality materials, we’ll ensure your project is a success. Contact us today for expert advice and personalized service!
